If you’re trying to decide whether or not you should do some DIY roofing repairs, then consider the facts listed here to help you decide.
Should anyone attempt a total DIY roof replacement?
If you watch a professional crew working on a roof, you’ll notice at least 1/2 dozen folks moving about the steepest inclines with ease.
So, really, the best person to ask is well, you. Do you want to battle gravity from high places?
However, if you smirk at tall heights and have the balance of a gymnast, you may be an instant pro at replacing a shingle or patching leaky spots.
So, we have some advice for you here.
But here’s the spoiler. Injury-related deaths in the U.S. rank among the top ten. Rooftop falls account for one-third of construction deaths. (Yikes!)
Before you even step foot in a home store for supplies, be prepared with every safety precaution OSHA mandates.
Then, take a look at some DIY roofing repairs for brave homeowners like you.
Flat Roof Repairs
Both old and new construction can include a flat roof or sections which are flat. Typically, they are made up of either hot tar build-up or rolled sections of EPDM (smooth surface) or bitumen (smooth or granular surface)
As long as we’re going over the supply list, you’ll also need:
- utility knife
- trowel
- hammer
- roofing cement
- fiber-mesh patching
- EPDM or other rolled material
- roofing nails
In some climates, bubbles can appear. Damage can occur from any kind of harsh weather as well.
In other cases, cement around chimneys or at the angles of the roof can wear away, leaving openings for rain or other unwelcome guests into your home.
For Small Areas
Using the utility knife, cut around the bubble or the hole so the remaining roofing material is flat.
Then, use the trowel to put cement into the hole and even out.
Then, you’ll want to reinforce an area which extends 6 inches or more from the damaged area with additional cement. Add to this a layer of fiber-mesh patching, and one last layer of cement.
For Large Areas
For larger areas, you’ll need to cut a rectangle around the damage. Cut carefully enough to just break the surface piece. You will use the piece as a template to cut a fresh rectangle out of the matching rolled material you purchase.
Fill the entire area with cement, and work into the layers of the existing material. Cut your fresh rolled material 6 inches wider and longer than the discarded piece, and lay on top of the cement.
Then, one last layer of cement over the patch, extending out beyond it, and “feather” the edges so there are no “clumpy” spots. (Little “mountain ranges” of dried cement will hold water exactly where you don’t want it)
Tip: there are sealant products which will cover the whole flat roof and add some energy saving qualities to it. Check with your local pros for options.
For cement areas
Where flat roofs meet 90-degree angles such as chimneys or outer walls, cement is used to keep the elements out. And, this can wear down with between your careful inspections.
Repairs to these areas are simple work. Chip out broken or loose pieces and fill with fresh roof cement.
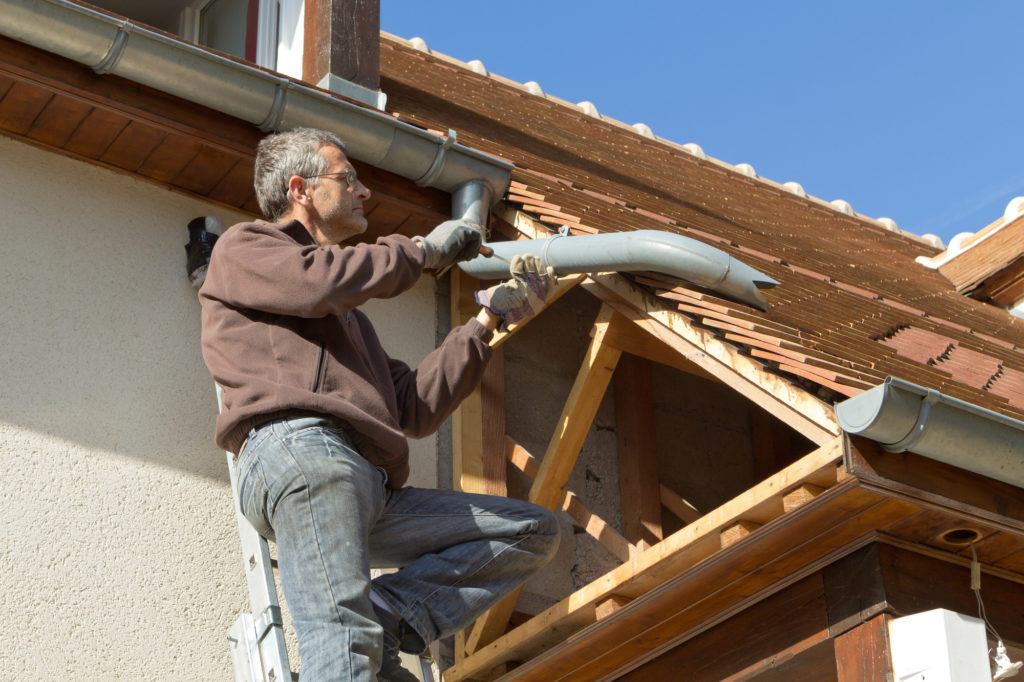
Pitched Roof DIY Roofing Repairs
Attempting do-it-yourself roof repairs on a pitched roof, as we’ve said, requires more than a shopping list for the home store. So, here’s a couple of must-do’s for the roofing DIYer.
- Work with a friend (add the person who signs on to “best friend” list)
- Bad weather is an enemy here (especially wind)
- Small repairs only
- If the damage is difficult to reach, get a professional
Pitched roofs are typically covered with slate, tile, wood, or asphalt shingles, and this is likely the damage you’ll notice first from weather or age.
Slate, tile, or wood shingles have a pretty long life, at up to 25 years. Unless your roof experienced a major weather event, the shingles are most likely past their expiration date.
Attempting an entire roof replacement is really just for professionals. And, if a catastrophic weather event has had its way with your roof, there is ample risk that the damage is far beyond the surface. Again, call in a professional for this.
Replacing Asphalt Shingles
Because these shingles are meant to work together, the fit is important. If they are loose, water will find it’s way to the roofing nails underneath. This is a quick trip to rust and a leaky ceiling.
Here are a few things you’ll need:
- prybar
- hammer
- roofing nails
- roofing adhesive
- shingles
Using the prybar, slip the end under the damaged shingle and press down to pull out the roofing nails along with the shingle.
When pulling up the shingle, it may tear, leaving nails in the plywood. Take a look to ensure none are left behind.
Lift the shingle above the space carefully, and put the new shingle in. Make sure it sits directly in line with the two surrounding shingle.
Dip the roofing nails in adhesive before nailing the shingle in place.
Repairing Shingles
Another pretty simply do-it-yourself roof repair is repairing a torn shingle or gluing down curled edges. A torn shingle with no missing pieces can be glued with adhesive.
Simply put the adhesive along the tear, and use a putty knife to add extra to the top.
(tip: check gutters for runoff granules from shingles and place on wet adhesive to disguise the patch job)
For curled edges on asphalt shingles, use the adhesive underneath the edge and secure with a brick. Let dry for at least 24 hours before removing.
Professionals Roofers Have Seen It All
There is no lack of memes and funny pictures of DIY roofing repairs.
From code violations to messy duct-tape fixes, roofers have a birds-eye view of those who feebly attempted their job.
If your roof is beyond your DIY pay scale, it is likely time look at some roofers in Richmond to replace it.
However bad your situation is, they’ve likely seen worse.
Maybe you are considered a slightly safer DIY. We’ve got you covered.
We have more tips on DIY home projects which cover everything from the kitchen to the office. Visit us here.