To be able to plaster a wall has to be one of the most satisfying DIY projects. And a freshly plastered wall with no lumps or bumps is something to be proud of.
However, when it comes to such a specialised skill, the right tools can make all the difference to the quality of your plastering. So, if you are new DIY or planning to tackle the walls in your home and are looking for the right tools for the job, here are the essential supplies you need when plastering.
- Plaster Beads – an important supply that you will need to ensure you have a professional finish is plaster corner beads. You need to place them on the edges of a window, for example, putting a plaster corner bead here will ensure that your edges are straight and no one would know that your walls were the product of DIY.
- Plaster Mix – having the correct plaster for the job at hand is essential if you want a professional-looking finish. You can get multi-use plasters but there is no single plaster mix for all jobs so check you have the right plaster formulation for your project before you start.
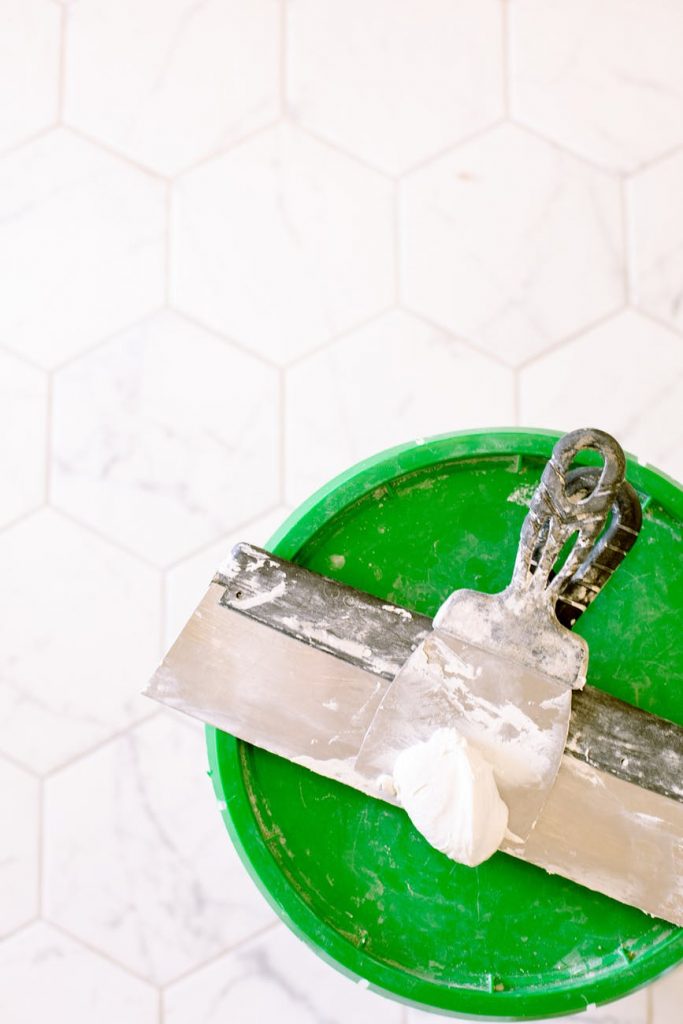
- Plastering Trowel– this tool is at the sharp – or should that be the smooth – end of your plastering as it is used to apply the plaster onto the surface and even it out to a sleek finish. The skill is to get the right amount of plaster onto the flat surface of the trowel before you apply.
- Bucket Trowel –you can’t work with a plastering trowel without its best friend, the bucket trowel. As the name suggests, this trowel is used to scoop up some plaster from your mixing bucket and onto the plastering hawk. The bucket trowel needs to be strong and durable, due to the weight it bears when lifting the plaster.
- Hawk/ Hand board –this is an essential piece of plastering kit and is basically a handheld platform where you hold the plaster as you move around. A hawk lets you apply plaster quickly across walls and ceilings and, as plaster sticks to the hawk surface, it can be held at an angle, making it easier to scoop plaster off with your plastering trowel.
- Finishing trowel– the third must-have trowel, the finishing trowel has a wider and flatter blade so you can smooth out the applied plaster for a super-smooth finish.
- Mixer –the world of plastering has come a long way since plaster was mixed with a spade. Today you can get a range of handheld electric paddle mixers, including cordless, which effectively draw the plaster mix through the rotating blades for a consistent and lump free mixture that’s ready to be applied. Use a large, clean and dry bucket for the best results.
- Water Brush –you will need a plastering water brush to remove or spread out water on the freshly plastered surface. These brushes retain water better than ordinary brushes and can also help to get rid of any blisters or scratches in the plaster surface.
- Scarifier – last, but not least, is the scarifier which is a large metal comb which is used to scratch the surface of the render if you are applying a second coat of plaster. The combed surface means the base render will create a strong bond with the final layer when it is applied.
As with all DIY tools, getting the best quality can enable you to get the very best results with your plastering and, if cleaned and looked after, your essential plastering supplies will last beyond your first project.


