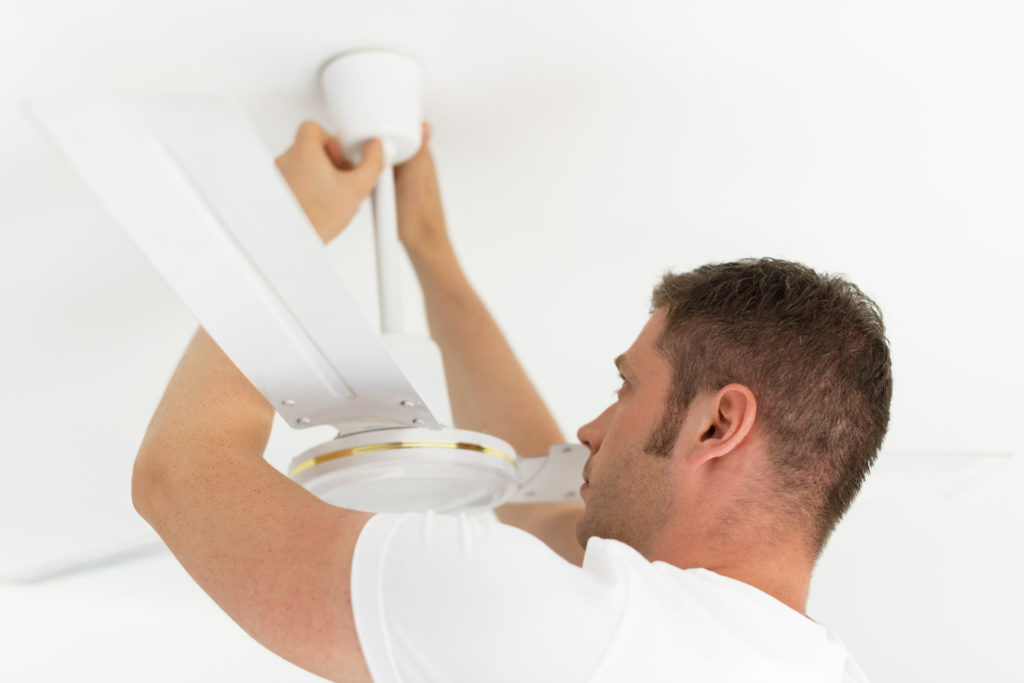
You don’t have to be a DIY pro to be able to install your own fan, with or without lights, with the help of this simple guide to ceiling fan installation!
Where do you begin with a ceiling fan installation?
The ceiling fan market continues to grow almost 2.5% annually until 2021. That means more people are recognizing the energy savings that a ceiling fan can bring to the home.
It also means that more people are choosing to install ceiling fans themselves. It also means more injuries due to improper installation. In 2013, there were 19,700 ceiling fan injuries across the United States.
Do you want to learn how to install a ceiling fan yourself and keep you and your family safe?
Keep reading to learn more about installing a ceiling fan.
Choosing Your Installation Spot
Choosing the right spot to install your ceiling fan will depend on a couple of things. The first is whether or not you’re replacing a fan. In that case, the work has already been done for you.
Some fans, like QuietCool Whole House fans, cool the entire home, which makes placement incredibly important.
Ideally, you want the ceiling fan to be placed in the center of the room, or as close to the center of the room as possible. If you have an oddly shaped room, you should consider installing two smaller fans.
The fan’s blades should be at least 5 feet from the nearest wall and you have about 8 feet of clearance from the floor.
Choosing the Right-Sized Ceiling Fan
You also want to be sure that you pick a fan that’s stylish, fits the d?cor of the room, and is the right size. A fan that’s too small will not have the power to move air around a large room. A fan too large will be too powerful for a small room.
Energy Star recommends fan sizes should be based on the size of the room. For example, if your room is 75 square feet or less, you’ll need a fan between 29-36 inches.
On the other side of the spectrum, a room between 225-400 square feet should be between 50-54 inches.
Tools for Ceiling Fan Installation
Once you have your ceiling fan picked out, you want to make sure you have the right tools on hand before you start the installation. Here’s what you’ll want to have handy:
- Adjustable wrench
- Wire cutter & Stripper
- Ladder
- Voltage tester
- Cordless drill
- Safety glasses
- Dust mask
- Electrical tape
- Phillips and Regular Screwdrivers
- Pliers
These tools will help you get your ceiling fan installed or you can use them if you need to troubleshoot any issues.
Safety Precautions
The first step in installing the ceiling fan is to take the right safety precautions.
First, read the instructions that came with the ceiling fan. You may think that you don’t need to read them, but that’s what leads to poorly installed fans. That could lead to injury.
You’ll want to shut off the circuit breaker power before you get started. Check the circuit with a circuit tester to make sure the power is turned off to that connection.
Next, check the electrical connections to verify that they’re up to code.
Third, check the area around where you plan to install the ceiling fan. You want to make sure that there are no obstructions around the area.
Install the Support Brace
If there’s an electrical box already installed, you’ll need to remove it. When you pull it out, do so gently or you could crack the ceiling.
The support brace needs to be installed so you can safely install the fan. That’s what holds the weight of the fan and keeps it from moving around or falling.
There are a couple of ways to install the support brace. It will depend on whether or not you have access to the attic or ceiling area above where the fan will be installed.
If you do have access to the ceiling area, you can attach a couple of 2x4s to the ceiling joists on the sides of the installation site. From there you can install the ceiling box.
If you don’t have access to the area, you’ll need to install a metal rod that expands. That will let you install the fan from below.
Install a Mounting Bracket
Your ceiling fan most likely came with a mounting bracket. If it did not, you can buy a mounting kit separately.
You’re going to refer to the instructions from the manufacturer to install the mounting bracket. The mounting bracket usually has a rod that you can extend so the fan isn’t installed too close to the ceiling.
You may have to extend the rod to make sure it’s not too close to the ceiling. Otherwise, air won’t be able to circulate.
Connect the Wires
Ceiling fan installation doesn’t require you to rewire your home.
You’ll need to attach the fan motor to the ceiling box. That’s done by connecting the wires, usually white wires to white wires and black wires to black wires.
There may be other wires or a receiver to install if your fan has remote control operation.
Double check your installation to make sure that everything is secure. That includes the wires, mounting bracket, and support brace.
Attach the Fan Blades & Lights
Next, you’ll install the brackets for the fan blades underneath the motor. You’ll install the fan blades to each of the brackets.
Check your work to make sure the blades are tight and secure.
If your fan came with lighting, you’re going to want to follow the manufacturer’s instructions for installation.
Test the Fan
Now that you’ve installed the fan, you can check your work. Turn the fan on to make sure it’s working.
You’ll want to check for any wobbling, unusual noises, and overall function.
You also want to make sure the settings are appropriate for the time of year. During the summer, it will operate normally. During the winter, you want to reverse the direction to push warmer air downward.
Fan Installation Made Easy
Learning about ceiling fan installation can be intimidating, especially if you’re not that experienced with electrical work.
Installing a fan can be very simple, as long as you take the proper safety precautions, have the right tools, and have a little extra help.
For more great tips on DIY projects, check out our blog.


