First aid kits, much like first aid training, are something that everyone should have handy. You never know when you might need quick medical intervention, and travelling to a doctor’s room or hospital for a minor cut, scrape or bruise can cost you hundreds of dollars that you could easily be saving or spending elsewhere.
Of course, any major injuries, allergic reactions or other medical issues do need to be tended to by professionals as soon as possible after they occur. However, for smaller everyday bumps and scrapes (or until you can get to a professional), a simple DIY first aid kit may just become your best friend. Here’s how to make a budget friendly version that has everything you need inside it.
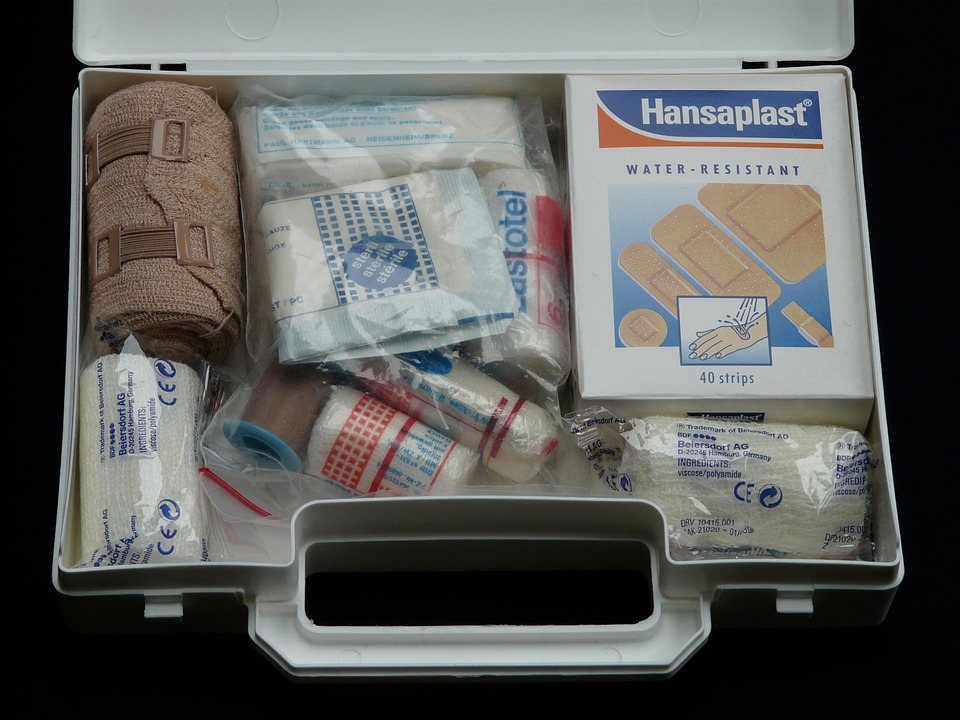
Choosing a Bag or Container
The first step to creating your kit will be to choose a container that suits your purposes. Most people opt for a soft zippable bag that contains a variety of different pockets and compartments to hold everything in place. A compartmentalized box, or even a small toolbox, could also be used for this purpose.
The size of the bag or container you choose will also depend on the size of your family, and also how comprehensive you want your first aid kit to be. If you want it to cover every eventual possibility when it comes to injuries, you will need a larger box or bag to fit in more bandages, splints, shock blankets, and other useful items!
The Items You Should Consider
Next, you will need to create a basic set of items for your kit. This certainly doesn’t have to cost the world; if you are the kind of person who prefers playing at no deposit casino sites to keep your budget in check, you will likely also want to create a kit that is as cheap and easy as possible. Luckily, all the basics are very affordable to buy, and are also readily available at your nearest store or pharmacy.
Some standard items to include are:
- Standard sized band aids
- Larger self-sticking dressing bandages
- Individually wrapped alcohol sanitizing pads
- Antibiotic cream or ointment
- Hydrocortisone cream for allergic reactions
- A bottle of lubricating or antihistamine eye drops, depending on your needs
- Antacids
- General headache, fever and pain relief tablets (if you have young kids, keep a children’s formula handy as well)
- Antihistamine tablets
- Disposable gloves and hand sanitizer
- Tweezers and scissors
- A first aid basics guide, should someone without training need to use the kit.
Handy Extras to Add to Your Kit
There are also a few other items that you can consider adding to your kit, depending on the specific needs of yourself and your family. For example, if you or a family member are severely allergic to bees, you will want to add an EpiPen. Likewise, if you or a loved one suffers from diabetes, a blood glucose-testing device and a pack of glucose sweets added to your kit may help to avert hypoglycaemic emergencies.
It’s essential to also remember to check your kit regularly and discard any old or expired medications therein. Check all the dates on pills, creams, ointments and the likes on a regular basis to keep your DIY first aid kit functional and ready for use!