American deer are picturesque subjects for a great photo, especially with their distinctive antlers, and are coveted shots by photographers. But, unlike a model, you can’t book wild deer into your studio. To simplify your photography experience, here is an all-around guide for getting that perfect shot of a deer.
General Tips
Deer are active in the mornings and the evening which also happens to be the time where the sunlight produces deep shadows and attractive lighting. If you are venturing into the wild, it’s good to scout out a location where deer are likely to gather first. This way, you can set up your gear and be ready for the deer to arrive.
When shooting outdoors, prioritise your aperture. Use a wide aperture to let in the largest amount of light; this way, you can keep the ISO low and the shutter speed high to reduce grain and blur. A wide aperture also creates a shallow depth of field and a picturesque blur.
Deer move around, sometimes quickly if running or rutting, so you want a short shutter speed to capture these action shots crisply.
Driving through regions with deer can be hazardous as deer are unpredictable. Heed warning signs and drive at a safe speed, especially in the morning and evening when deer are most active. For more tips on arriving safely at your photography spot, read about how to avoid a deer collision.
Essential Gear
Your highest priority is creating a crisp, clear image, so prevent image blur with a tripod or a monopole. If bringing a tripod, don’t carry it above your head during the hunting season as it can look like antlers, and wear an orange visibility jacket. Deer see more to the violet end of the spectrum and don’t notice orange as much, but it is easily visible by hunters.
For shooting at home, in a car, or by a natural surface like a tree stump, then a bean bag placed under your lens will do the trick and is a cheap option. If you want to place a deer feeder in your property, then scope out the landscape and place it somewhere with an attractive background. There are lots of different types of deer feeders to consider, so find one that’s best for your needs.
Close Ups
The heart of any portrait, be that human, deer, or any other animal, is in the eyes. During close-ups, keep the point of focus on the eyes and use your wide aperture to create a soft blur in the foreground and background. This creates an emotional connection between the viewer and the deer.
Try adjusting your image angle to create a dramatic shot. Set your camera height at the eye level of the deer to create a connection with your subject, or shoot from the ground to frame the deer between strands of foreground foliage and the background to create image depth.
Patience is key: wait for the deer to look right into your lens for a magical shot.
Landscapes
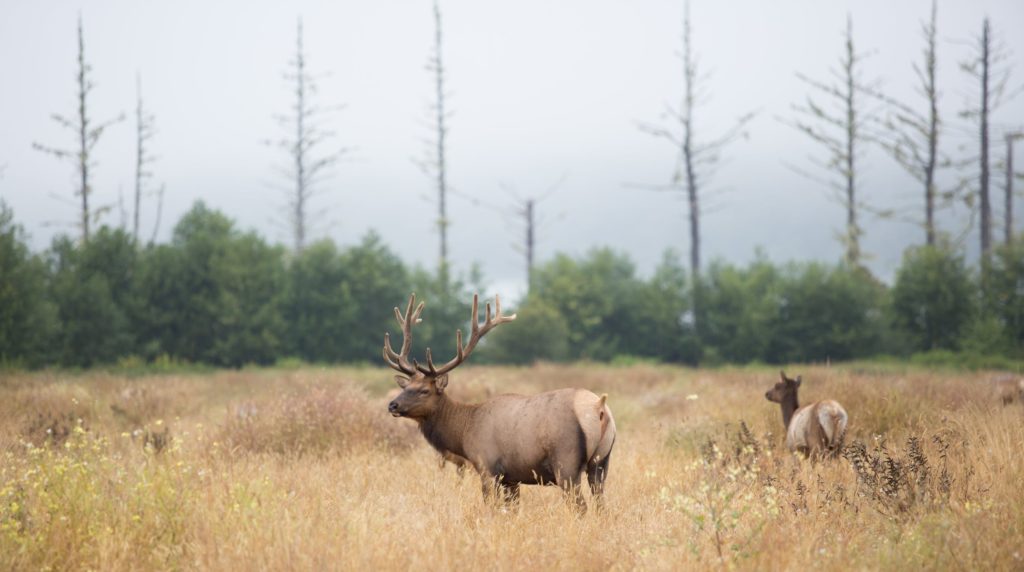
Sometimes, you want the deer to be framed by a wider landscape. For these shots, use a wide landscape lens, still focussing on the eyes of the deer. Try and angle your photo to create leading lines.
When framing this shot, use the composition rule of thirds as a foundation for building a dynamic photograph. Frame the photo so that there is the largest amount of negative space in the direction which the animal is looking. When a viewer sees this photo, their eyes travel from the deer to the landscape.
Deer behaviour
During autumn, deer have the healthiest coats and antlers because the males are preparing for the rutting season. Rutting shreds coats and breaks antlers, so for pristine deer, find them in autumn. Female deer are at the start of estrus and will also look healthy around this time.
Remain a safe distance from deer when they are rutting and around fawns. Wild deer are unpredictable and strong, and you risk injuring yourself or the deer when they are at their most aggressive.
Personal photographs of deer make classic features around the home and in your portfolio. Try these tips for sharing your memories so that your hard work and patience photographing wildlife is something you can cherish.


