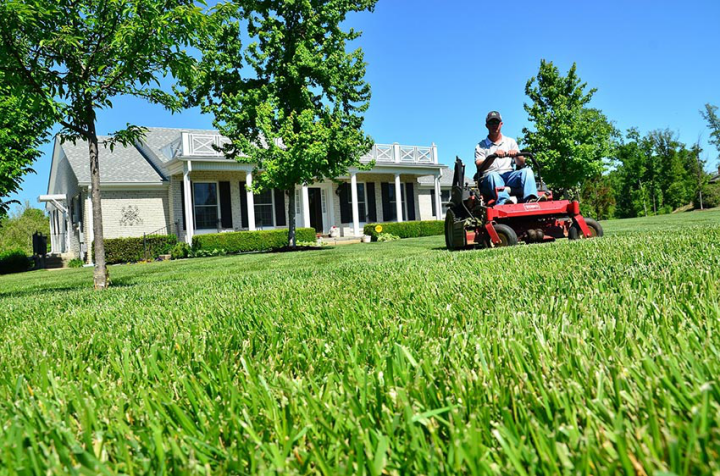
(Image Credit: Pixabay)
Sometimes a damaged lawn will never become plush and green no matter how much work the property owner puts into it. Rather than continue to pour time and resources into a haphazard lawn, replacing it with fresh sod is often the better option. However, this process requires careful preparation by the property owner to see the results he or she expects. This starts with selecting a good soil. Choosing a high-quality soil and preparing it properly offers several benefits, including:
- Lawn recovers faster from wear
- Less need for maintenance
- Less use of chemicals, fertilizer, and water
- Better density and uniformity
Grass requires four things to remain healthy and grow steadily. These include air, nutrients, sunlight, and water. It obtains all these things, less sunlight, directly from the soil itself. Unfortunately, the soil may be too dry, compacted, have too much sand, or an acidity level too low or too high to encourage optimal growth. The best soil for turf or grass should have a pH balance of 6.0 to 6.5 to produce beautiful and low-maintenance grass.
How to Prepare Soil to Receive Sod
The property owner needs to prepare the site up to two months before receiving the turf by weeding it completely. It is essential to eliminate weeds, stones, and other debris from the site and then level it flat with a rake. The area receiving the new sod should sit undisturbed for approximately five weeks to allow the soil a chance to settle properly.
After the turf arrives, the property owner should use a rototiller to loosen the top six to eight inches of soil. Next, spread two inches of compost over the soil and add two to three inches of sand to improve drainage conditions. After completing a soil test to ensure the health of the soil, the next step is to lay fertilizer with a spreader.
Now it is time to level the surface once again. Using an iron rake, fill in low spots and knock down any high spots so the entire area is even. The soil level should be one inch below the grade of any paved surface like a walkway or driveway. Dampen the soil lightly before moving onto the next step.
The final step involves laying the first row of sod and all subsequent rows. For the first row, the property owner should find a long and straight line and unroll the sod against it. Be sure to stay off the sod and rake away any footprints or wrinkles to ensure that it remains even. This also eliminates harmful air pockets.
Once the first row is down, it is time to cut the next row in half with a knife to allow for staggering of short seams. It is similar to laying down bricks. Sections of turf should fit snugly against each other without overlapping. The property owner can also use the knife to cut holes for sprinkling systems.
Dirt Clean-Up After Installation
The job is not quite done after the sod is in place because the property owner still needs to get rid of the large amount of leftover dirt. Paying a hauling company to pick-up and remove the dirt is a good investment and makes it possible to finish the entire project much faster.