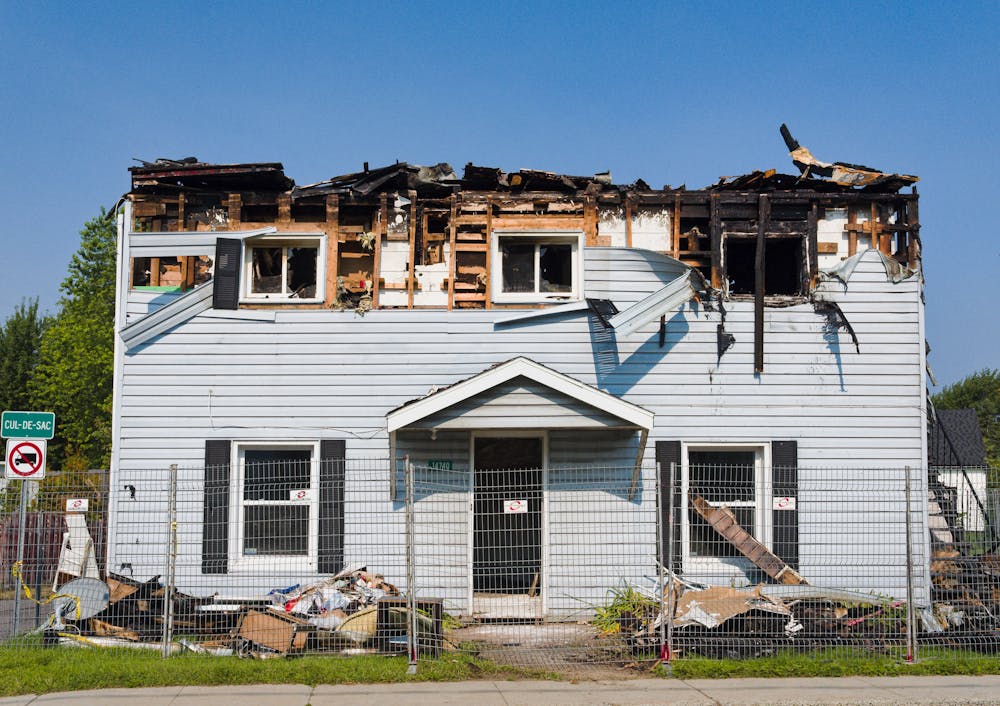
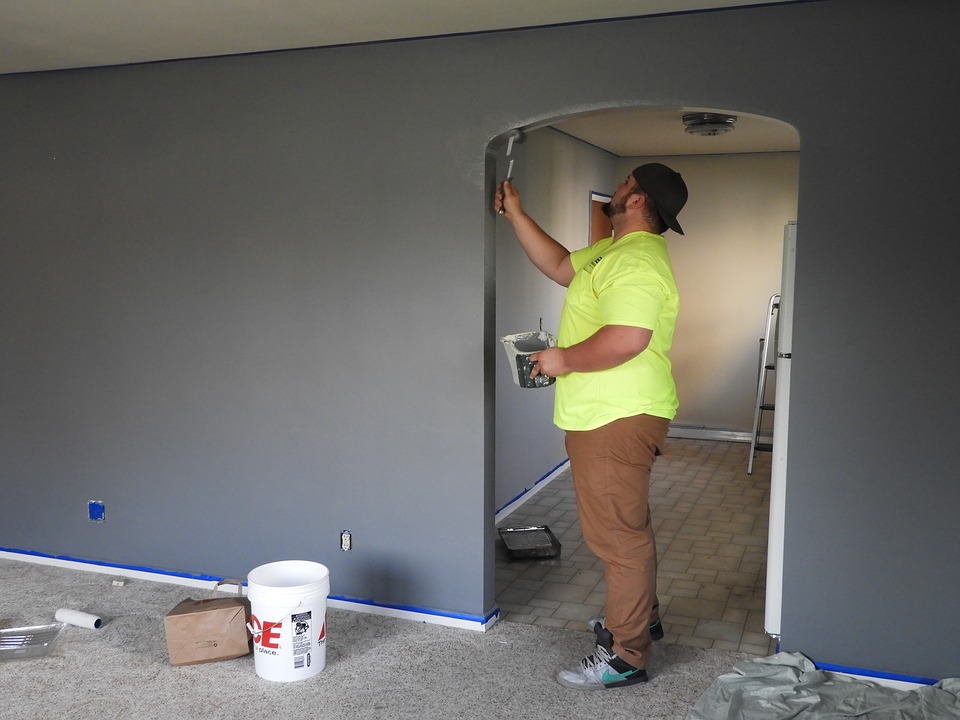
If your roof is damaged by a storm, prioritize safety first by staying away from affected areas. Assess the damage visually (if safe) and document it with photos for insurance purposes. Contact a professional roofer promptly to inspect and provide repair options. Avoid DIY fixes unless absolutely necessary, as improper repairs can worsen the issue.
Table of Contents
- Signs Your Roof Has Been Damaged in a Storm
- Immediate Steps to Take After Discovering Roof Damage
- How to Assess and Document Storm Damage Effectively
- Final Thoughts on Protecting Your Home Post-Storm
Imagine this: a fierce storm sweeps through your neighborhood, leaving behind chaos and destruction. While you may breathe a sigh of relief that your family is safe, stepping outside reveals a troubling sight—shingles scattered across your yard, water pooling in your attic, and visible holes in your roof. Storm damage isn’t just inconvenient; it compromises your home’s safety and structural integrity.
In moments like these, knowing the right steps to take can make all the difference. From assessing the extent of the damage to choosing the best repair or replacement option, every decision matters. For Canadian homeowners, dealing with harsh weather conditions means being prepared for the unexpected. That’s why turning to trusted resources like hjroofing.ca can provide the guidance and expertise needed to address storm damage effectively.
This guide will walk you through exactly what to do if your roof suffers storm damage, from immediate actions to long-term solutions. By following these steps, you can safeguard your property and restore peace of mind.
Signs Your Roof Has Been Damaged in a Storm
Storms can wreak havoc on your roof in ways that aren’t always immediately visible. Knowing how to spot the signs of damage early can save you from costly repairs down the line. Here’s a detailed breakdown of what to look for:
Missing or Loose Shingles
Shingles are your roof’s first line of defense against the elements. After a storm, inspect your yard and driveway for shingles that may have been torn away. On the roof itself, look for loose or curling shingles, which indicate that the adhesive seal has been compromised. Missing shingles leave your roof vulnerable to leaks and water damage, while loose ones can be easily blown off during the next storm.
Leaks and Water Stains Inside Your Home
Water stains on your ceiling or walls are clear indicators that your roof has been breached. Even small leaks can lead to mold growth, rot, and structural damage if left unaddressed. Pay special attention to areas near chimneys, vents, and skylights, as these are common weak points. If you notice dripping water or damp spots, it’s crucial to act quickly to prevent further issues.
For homeowners considering an upgrade, resources like how to install a metal roof can provide valuable insights into switching to a more resilient option.
Dented or Cracked Flashing Around Chimneys and Vents
Flashing is the metal or rubber material used to seal joints and edges on your roof, such as around chimneys, vents, and skylights. Hail, debris, or high winds can dent or crack this protective layer, creating pathways for water to seep into your home. Inspect these areas carefully after a storm, as damage here can often go unnoticed until it’s too late.
Visible Holes or Punctures
Large holes or punctures in your roof are serious red flags. These can be caused by falling branches, heavy hail, or even flying debris. Not only do they compromise your roof’s integrity, but they also expose your home to the elements. If you spot any holes, avoid going near the area and contact a professional roofer immediately to assess the situation.
Immediate Steps to Take After Discovering Roof Damage
When you discover that your roof has been damaged by a storm, taking swift and appropriate action is critical to minimizing further damage and securing your family’s safety. Here’s a step-by-step guide on what to do immediately after noticing the signs of storm damage:
Prioritize Safety Before Inspecting the Area
Your safety should always come first. Avoid climbing onto the roof or stepping into areas where ceilings appear sagging, bulging, or waterlogged, as these could collapse under pressure. If the damage seems extensive or poses a risk to your home’s structural integrity, evacuate the affected area until a professional can assess it. Keep children and pets away from potential hazards like falling debris or exposed wiring.
Minimize Further Damage Using Tarps or Buckets
Once you’ve confirmed everyone’s safety, take steps to prevent additional water intrusion. Use heavy-duty tarps to cover exposed areas of the roof temporarily. Secure them tightly with sandbags or ropes to prevent them from blowing away in strong winds. Indoors, place buckets or containers under active leaks to catch dripping water and protect your furniture, electronics, and other belongings. Absorbent towels or blankets can also help contain smaller leaks.
Pro Tip: If you’re unsure how to properly tarp your roof, consult a professional roofer for guidance. Improperly applied tarps can cause further damage or fail to provide adequate protection.
Notify Your Insurance Company Early On
Contact your insurance provider as soon as possible to report the damage and begin the claims process. Be prepared to provide detailed documentation, including photos of the damage, notes about when and how it occurred, and any receipts for temporary repairs. Many insurance policies have strict deadlines for filing claims, so acting quickly is essential.
Additional Insight: Some insurance companies may require you to submit multiple quotes from licensed contractors before approving repairs. Research local roofing services in advance to streamline this process.
How to Assess and Document Storm Damage Effectively
Assessing and documenting storm damage is a critical step in securing your roof is repaired correctly and your insurance claim is processed smoothly. A thorough assessment helps identify both visible and hidden issues, while proper documentation provides the evidence needed to support your case. Here’s how to approach this process effectively:
Capture Clear Photos of All Damaged Areas
Start by taking high-resolution photos of both the interior and exterior damage. Use your smartphone or camera to capture detailed images from multiple angles. Focus on areas like missing shingles, water stains, dented flashing, and structural issues such as sagging ceilings or walls. For exterior shots, include wide-angle views of the entire roof as well as close-ups of specific problem areas.
Pro Tip: If possible, take photos during daylight hours for better clarity. Make sure the images are well-lit and free of obstructions like tree branches or shadows. These visuals will serve as vital evidence for your insurance claim and help contractors understand the scope of the damage.
Write Down Details About When and How the Damage Occurred
Document the date, time, and weather conditions during the storm. Note any specific observations about its impact, such as hail size, wind speed, or falling debris. For example, “The storm occurred on October 15th, with golf-ball-sized hail and winds exceeding 80 km/h.” This information can help establish the cause of the damage when filing your claim and demonstrate that it was a result of the storm rather than pre-existing wear and tear.
Additional Insight: Keep a record of any immediate actions you took, such as covering the roof with tarps or placing buckets under leaks. This shows your insurer that you acted responsibly to mitigate further damage.
Consult a Professional Roofer for an Accurate Assessment
While DIY assessments are helpful for identifying obvious issues, only a qualified roofer can provide a comprehensive evaluation. Professional roofers have the tools and expertise to spot hidden problems, such as concealed leaks, compromised underlayment, or structural weaknesses. They’ll also assess whether repairs are sufficient or if a full replacement is necessary.
Why It Matters: Hidden damage, like water infiltration beneath the shingles or rotting wood decking, may not be visible to the untrained eye. A professional inspection confirms that no critical issues are overlooked, preventing costly surprises later on.
Final Thoughts on Protecting Your Home Post-Storm
Dealing with storm damage to your roof can feel overwhelming, but taking the right steps can make all the difference in protecting your home and securing your family’s safety. From recognizing the signs of damage to assessing the situation and choosing the best repair options, every decision plays a crucial role in restoring your roof’s integrity.
Remember, addressing storm damage isn’t just about fixing what’s broken—it’s about preparing your home for future challenges. Investing in durable materials, regular maintenance, and professional expertise can significantly reduce the risk of severe damage during the next storm. Whether you’re patching up minor issues or considering a full roof replacement, prioritize quality and reliability to safeguard your property for years to come.


